Monday, December 28, 2009

Christmas Treats

Throughout December I went a little crazy making sweets. It was good that I was able to share most of them and only eat a few of each by myself! Here's a few of the treats I made, along with links to some of the recipes.

3. Chocolate Star Cookies
(Sorry, not sure where this recipe came from--I've had it forever!)
4. Sugar Cookies with Royal Icing (More help HERE)

I also made these:

All of them turned out surprisingly yummy even with my lack of baking skills!

Sunday, December 27, 2009

Gift Wrapping Ideas #4: Pop-top Cans

Last idea for Christmas (or anytime!) wrapping:

Pop-Top Cans! Using soup/fruit/etc. cans with pop-tops and opening up the bottoms, leaving the pop-tops intact. After washing them and filling them with treats of my own (homemade caramels and hot cocoa mix), I decorated them with scrapbook paper, tags that I designed in Photoshop and ribbon. I kept mine pretty simple. I've seen these in a few places over the years but Blue Cricket Design has a good tutorial HERE.


Tuesday, December 22, 2009

Gift Wrapping Ideas #3: Gift Tags

I love cute gift tags! You know, I don't feel too bad writing with a Sharpie directly on the package when it's for my 3 year old, but generally I like my gifts to look a little nicer when they're for anyone else. So this year I whipped a few up in Photoshop and printed them on watercolor paper so they had some texture. Here are the four that I came up with:

Really simple, but don't you think they look a little better than the alternatives of Sharpie-labeling or stick-on tags?

If anyone wants a copy of the file that I made so you can print these out yourself, just let me know!

Here are a few other ideas that I love:

Another super simple idea that's just my style via Pepper Design Blog. You can find the details HERE.

I LOVE these! You can actually print these cute tags out and use them yourself. Just go to Creature Comforts HERE!
Probably my favorite of the group and a little less simple are these cute fabric tags from Inchmark Journal. You can find instructions for these awesome tags HERE.

Monday, December 21, 2009

Gift Wrapping Ideas #2: Papier-mâché Boxes

I had a few boxes left over from my Advent Calendar so I used them for some small gifts.

First, I painted the boxes with the same red (Apple Barrel "Burgundy") that I used on my calendar. Then I measured the sides and the top and cut some cute Christmas scrapbook paper just smaller than my measurements and adhered it to the sides and top with Mod Podge. Gotta love that stuff!

It looked a little boring so I used a brown ink pad and inked the edges of the paper, as well as the exposed edges of the box.

I put a coat of Mod Podge over the entire thing, inside and out.


Then I found some scraps of matching ribbon and tied some gift tags that I had made onto the ribbon with a little thread. I ended up inking the tag as well because it looked a little stark next to the box. This was a super easy project (like most of mine) that made those small gifts a little more special. I want to make a bunch more, but since I have no more gifts to wrap, I guess I'll have to stop (at least for now)!

Tuesday, December 15, 2009

Gift Wrapping Ideas #1: Origami Boxes

I am a little bit particular about wrapping gifts. I love wrapping, but it definitely brings out the perfectionist streak. I am always looking for fun and creative ways to make my gifts a little prettier. This year I had quite a few little presents to wrap, so I decided to make origami boxes for them. I think I have made about 10 boxes so far, but here are two of my faves.

There are lots of tutorials out there on how to fold these, but you can find a good video tutorial HERE. There's another pretty good photo tutorial HERE. I learned to fold them a little differently, but they end up the same in the end. I used patterned paper for the top of the box and cardstock for the bottom to make it a little sturdier.

Super easy! (Plus it's a great way to put a dent in my stash of scrapbook paper--then I can tell my husband that I NEED more! :)
My little girl helped me pick out the paper for this smaller one for my 12 year old sister. She told me that there had to be pink and that we had to use "sparkly" ribbon.

This week I'll post a few more easy ideas for making your gifts a little more personal with creative wrapping.

Tuesday, December 8, 2009

Friday, December 4, 2009

Paper Bag Ornaments

For at least the past 15 years, my family has had the Christmas tradition of making a new set of ornaments each year. We've made things like snowmen from tongue depressors, felt gingerbread men, ribbon angels and button wreaths. I loved that our tree, while not the "perfect-looking" tree, was chock-full of all of the decorations that we had made over the years.

It's my very favorite Christmas tradition and since my husband and I have been married, I've been able to get him to help me most years. We skipped last year because we were insanely busy (we didn't do any Christmas shopping at all until the 20th!). This year my little girl was old enough to help, too (she's 3). I love working on crafty projects with her.

This year we made these little guys. I love them and I especially loved their price tag! The only thing that I bought in order to make them was a clearance stamp set at Robert's that I'm sure I can find other uses for!
I had seen similar ornaments on a few different websites, but the ones that I liked best were HERE on Elise Blaha's blog and HERE on Design*Sponge.

First, I stamped the paper bags. After making a couple with paper bags, I decided that kraft paper would be much easier (no folds or seams to deal with). I had my little girl help me stamp. It really doesn't matter how perfect your stamping is, it looks good anyway. I used Stampin' Up's Craft Stampin' Pad in Whisper White.


After that I cut my paper into 1 inch strips.

Then I cut those strips into pieces 3.5", 4", 4.5" and 5" pieces. You could really make these any size you want, just start with a middle piece and then cut 2 pieces each in 1/2" larger increments. This is just the size that worked best on my little tree.

Then I put all of the strips together with the smallest in the center and the largest on the outside. I put a small eyelet in each end and then tied a piece of jute twine through the eyelet.

So there you have it!

I also made a few out of patterned paper that I had on hand. I think these would look awesome with two-sided paper. I attached these ones a little differently.

Instead of eyelets, I used a stapler and put a ribbon in between the papers before I stapled it. SUPER EASY!

The way the light comes through these is really pretty. I let my little girl hang them all on the tree, which meant that they are all in a bunch. When I suggested that we spread them out she said, "No, they just want to be by their friends."

Tuesday, December 1, 2009

Advent Calendar Boxes


I have been trying to get myself organized so that I can start posting some of my favorite Christmas projects. I've been making a lot of my Christmas gifts this year and it's been a lot of fun! I've also been making quite a few decorations. One of my favorite things at Christmas is Advent Calendars. I stumbled on this one on Ali Edwards' site earlier this year and was so excited! I had a bunch of these Papier-mâché boxes laying around.

http://aliedwards.typepad.com/_a_/2007/11/christmas-proje.html

So I decided to make my own version with as much stuff as I had on hand as possible. I did buy paint (Apple Barrel "Burgundy" and Jo-Ann Craft Essentials "Spanish Olive") chipboard numbers and a few boxes, but otherwise I was able to use up a lot of my craft supplies.


First I painted my boxes. I debated on whether or not to paint some of the boxes a chocolate brown, but laziness won out in the end and I just left them their normal kraft color. I really like them though. The numbers were probably the hardest part. It's really hard to find stickers or chipboard that is all numbers, and I didn't want to have to buy 10+ sets of alphabet stickers (Need lots of 1's and 2's!). I finally found a set of chipboard numbers fro Colorbok, although all of the fonts were different and random, I decided I'd work with it. I painted them white and then I also used some white Foam Thickers from American Crafts, some stencils and a few were hand numbered by yours truly :)


Another challenge? Attaching them to the wall. Because I'm not living in my own house at the moment, I decided that I didn't really want to put dozens of holes in the walls. So instead I bought a sheet of 1/2" foam core, cut it down to a manageable size and attached the boxes to it with thumbtacks. And no, my thumbtacks don't match; and yes, it is bugging me, but with the lids all on I'll be fine :) I wasn't about to buy a bunch of thumbtacks that I didn't need. I'd much rather use that little bit of money for crafty things! So now I'm debating whether or not to attach the foam core to the wall with foam poster tape or just setting it on one of my painting easels. We'll see...

I filled each box with a note for an activity for my little girl. There were things such as:
  • Driving around to look at Christmas lights
  • Picking out a tree
  • Playing a game
  • Watching a Christmas movie
  • Making gingerbread houses
  • Singing Christmas songs
  • Helping me make a treat, etc.
I also put a chocolate Kiss or other candy or a small gift (princess stickers and lip balm in the three biggest boxes that look empty). So there you have it...my first Christmas craft!

Monday, November 16, 2009

A Couple of Photos

I swore to myself that I would stop neglecting my blog. That lasted all of two posts. {Sigh} I have lots that I want to post, but not a lot of time at the moment to devote to it. I recently spent about 4 days at my parents' house crafting with my mom and taking lots of photos. Most of the crafty stuff was Christmas gifts, so I'll have to wait to post those projects, but I have a few others to post in the next week or so. Here are a couple of my very favorite photos that I took while I was there (the second one is of my little sister):


Gotta love that bokeh!


Tuesday, October 20, 2009

Crocheted Capelet

I have been working on crafty projects non-stop for the last couple of weeks. I finished these at the beginning of that spurt. I saw the pattern for this cute little sweater and decided that even though I am not very good at following patterns, this one was simple enough that even I could do it. Sure enough, each of these took me about 3 hours to finish. My little girl picked out the blue and I also wanted to make a purple one to match some other things that she has. SO EASY!


And here it is on my little model, as she's dancing away

Monday, October 12, 2009

Blog Neglect...and a Cute Sewing Project

For a while I lost all will and desire to do anything even vaguely creative. All of my creative energy and time was being spent reading ridiculous amounts of history texts and writing long papers on those. Now that I am finally finished with school (until I decide I'm bored and go back) and have had a few months to catch up, I've been immersing myself in new projects. Hopefully this means that I will stop neglecting this little blog of mine.

Many of these are to get a jump on Christmas gifts, so I won't share them yet, but some are just for fun. A few weeks ago I saw the cutest dishtowels in the $1 bins at Target (well, the $2.50 bins) and decided that I ought to try to make a Halloween dress for my almost 3 year old little girl.

Pictures aren't great--

but I think it turned out kind of cute, especially because I spent a total of $2.50 on it. (I had the ribbon left over from a previous project, so no need to buy more!)

Friday, July 31, 2009

T.O.P. July Monthly Special--Fragmentary Portraiture


Yes, I waited til the last day of the month--but at least I'm still within it this time! Here is the link to the Take Out Photo July Monthly Special.

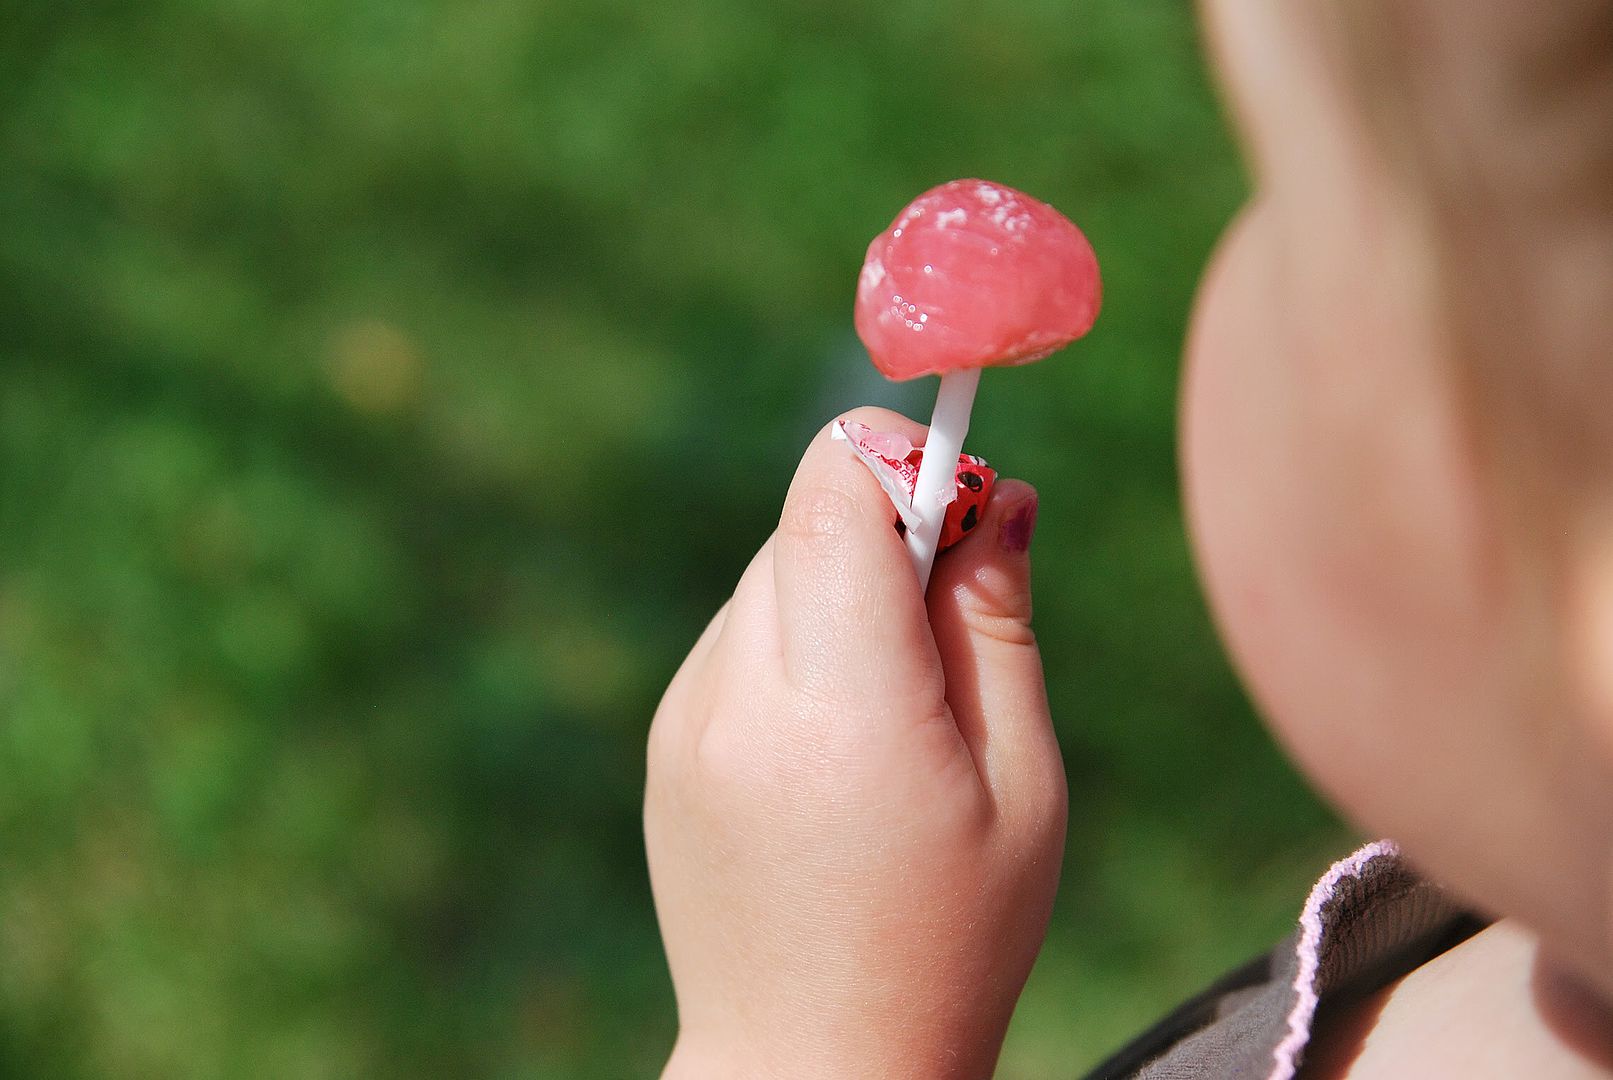
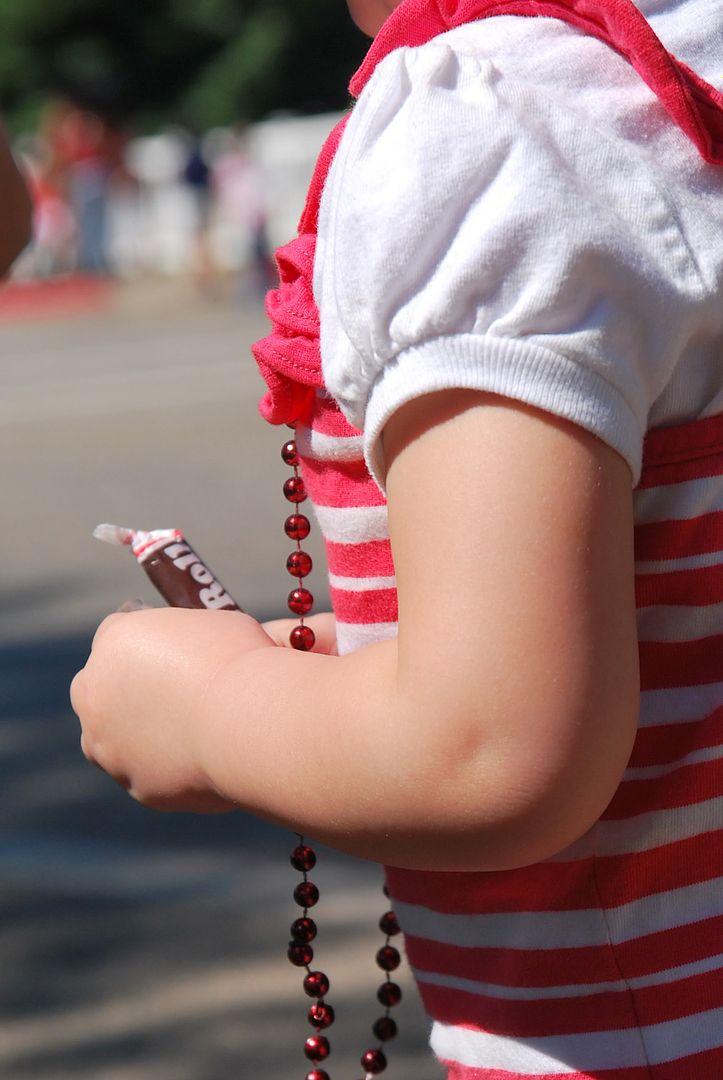
I know this picture focuses more on the candy, but I do love that she was holding onto it for dear life. She is such a candy fiend, but rarely has any at home. Have to love parades in July! I think she was afraid it was going to get taken away. I think it qualifies as "things directly attached."
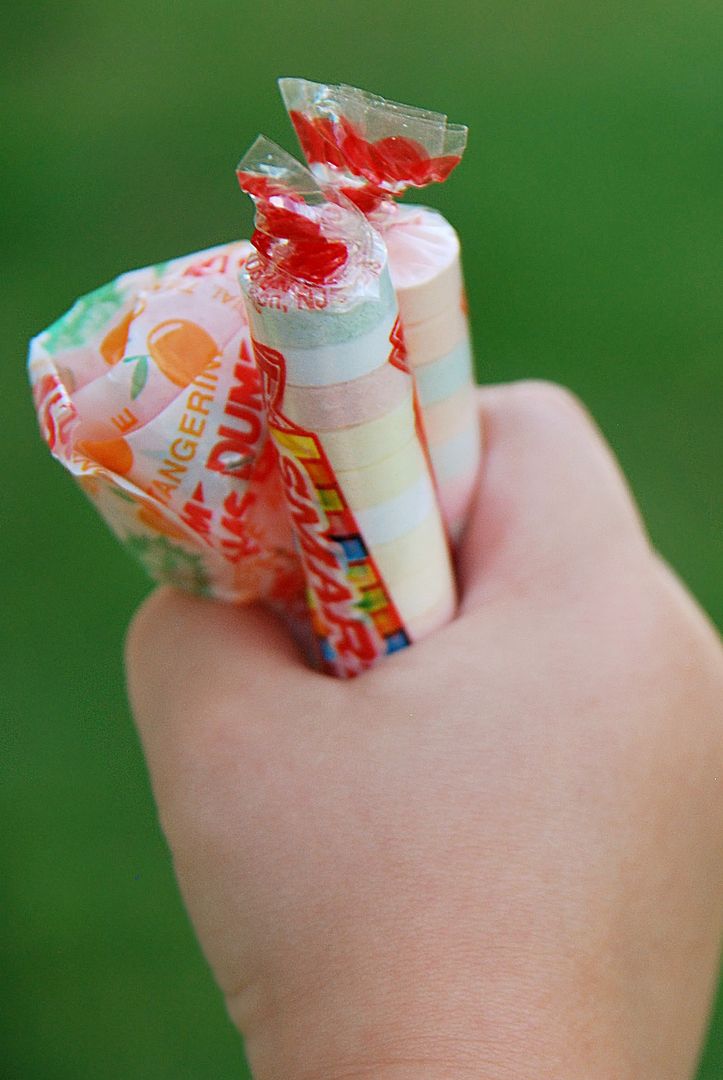


I love the little dimple in her elbow...it's one of my favorite things.

Wednesday, June 24, 2009

Take Out Photo May Monthly Special

I'm a little slow--I've been meaning to post this for a while. I took these for the May Monthly Special at Take Out Photo. The assignment was "Color."
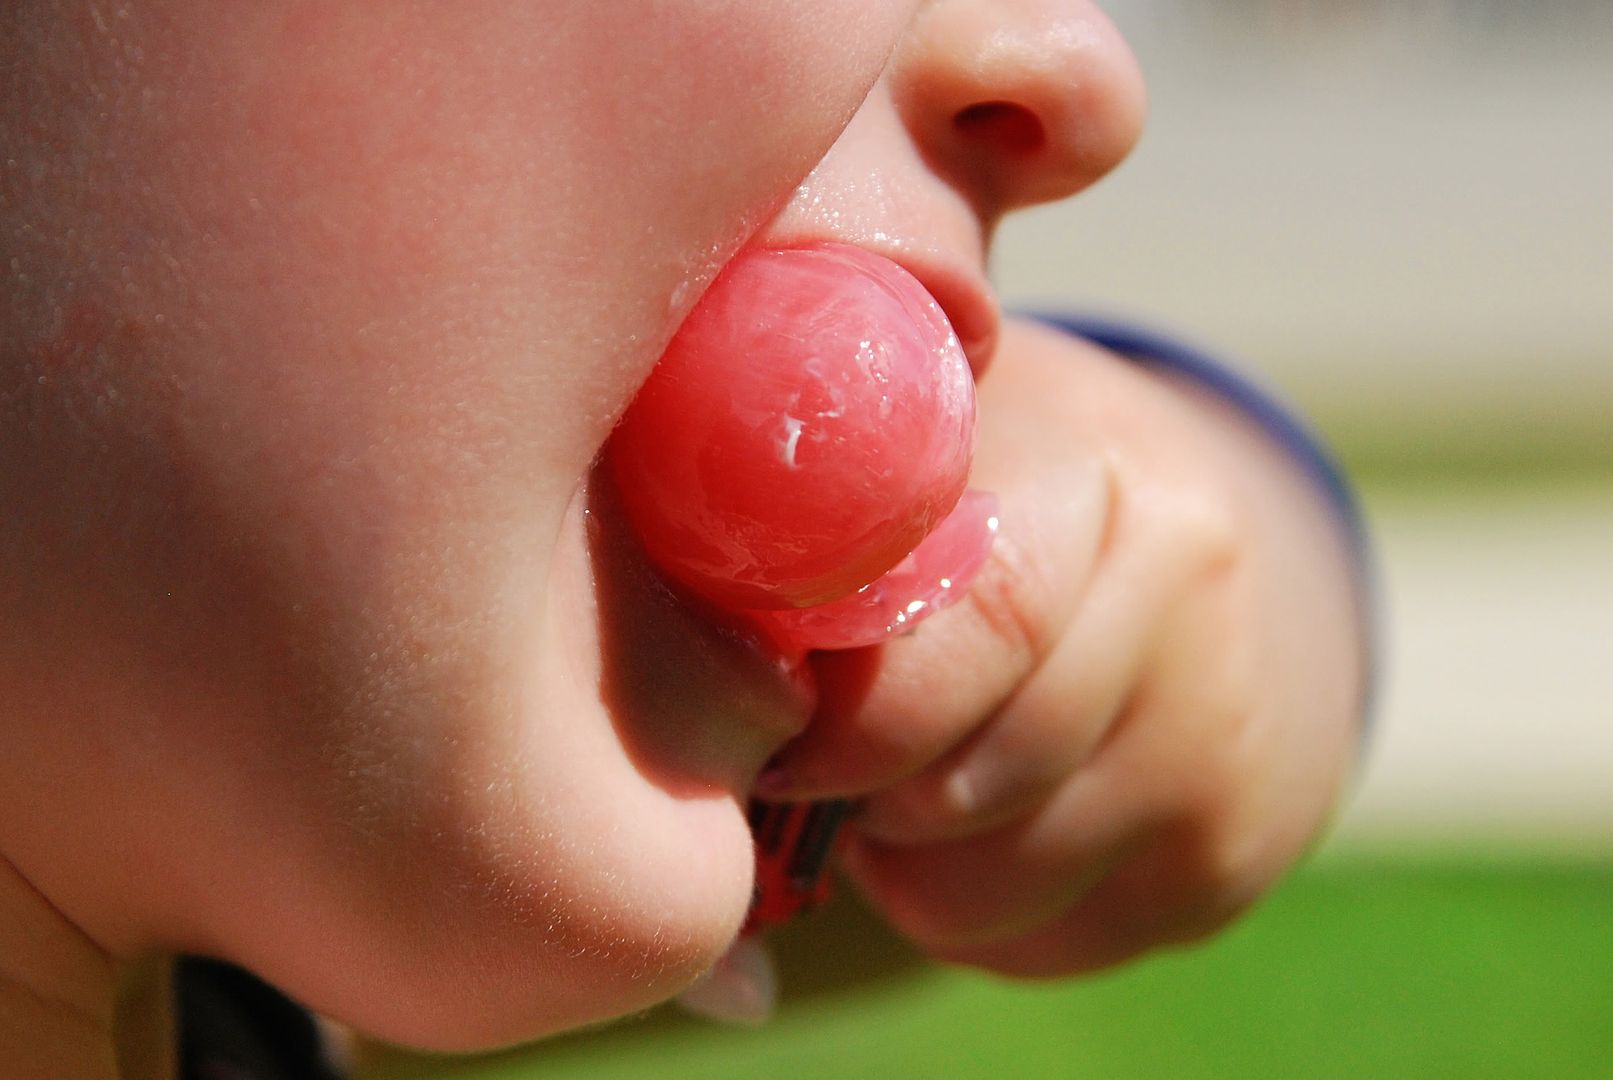
I know this isn't very colorful; I tried converting it to black and white, but it looked so much better with the little bit of color that it has.


Monday, April 27, 2009

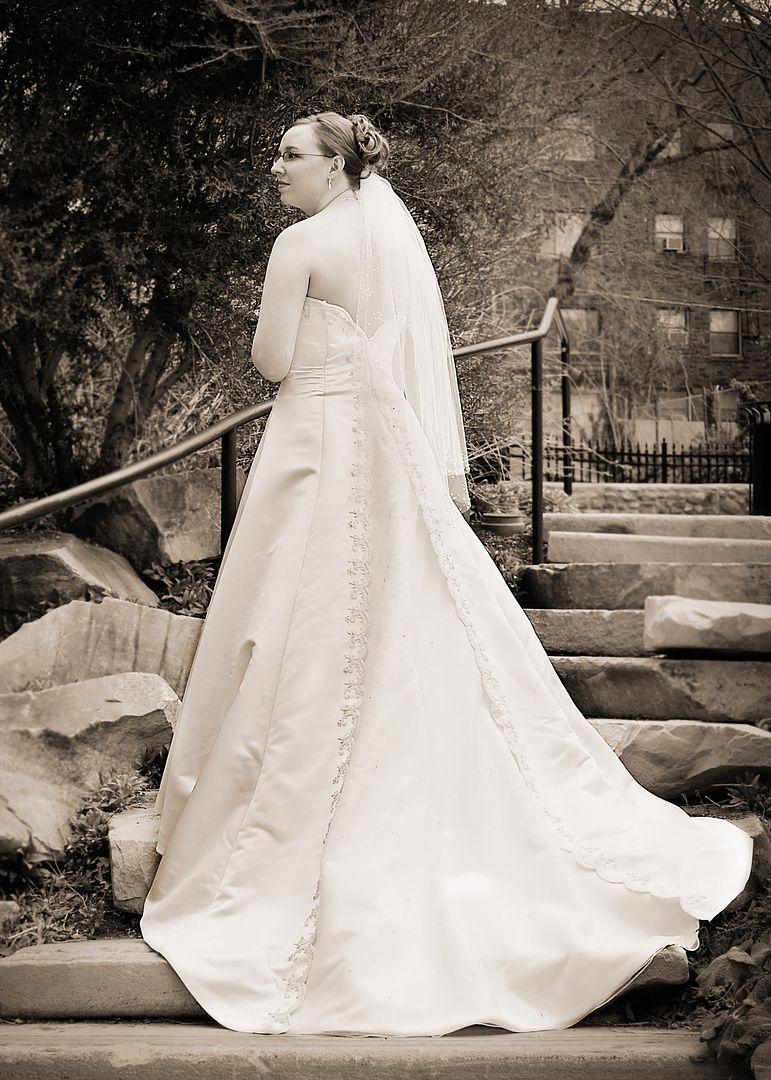
Callie's Bridals


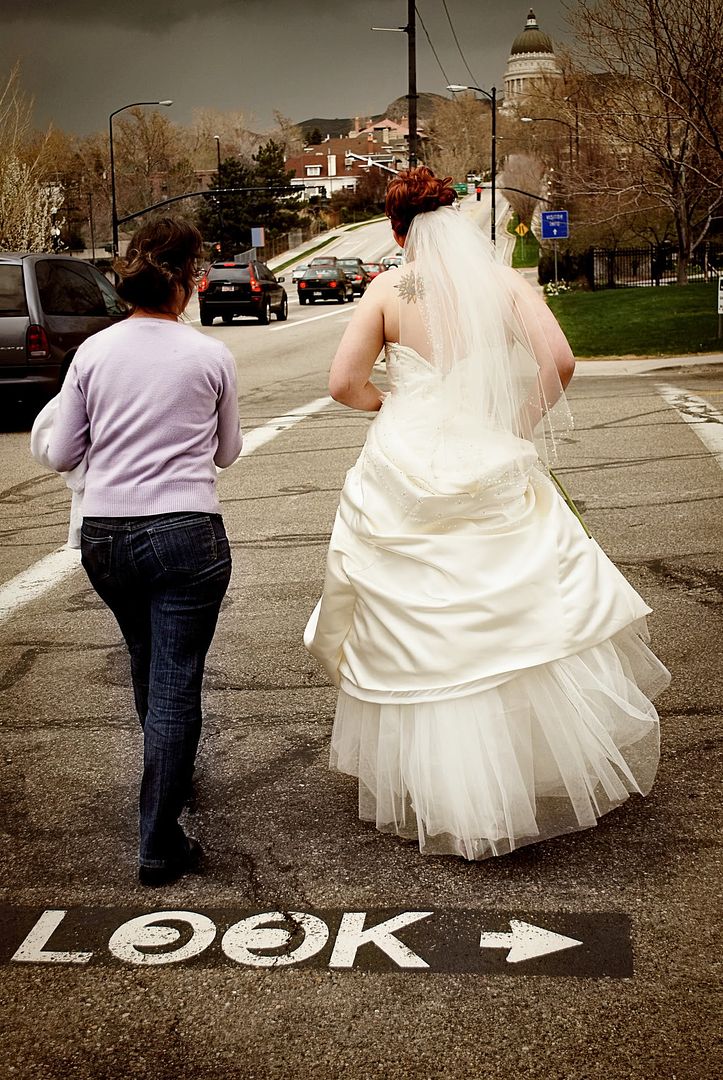
My beautiful sister-in-law Callie got married last weekend, so a few weeks ago I took some bridals of her. It was my first time doing bridals, but I think they turned out pretty good. These are just a few of my favorites, but I may have to post some more later. Thanks for letting me experiment with your pictures, Callie!


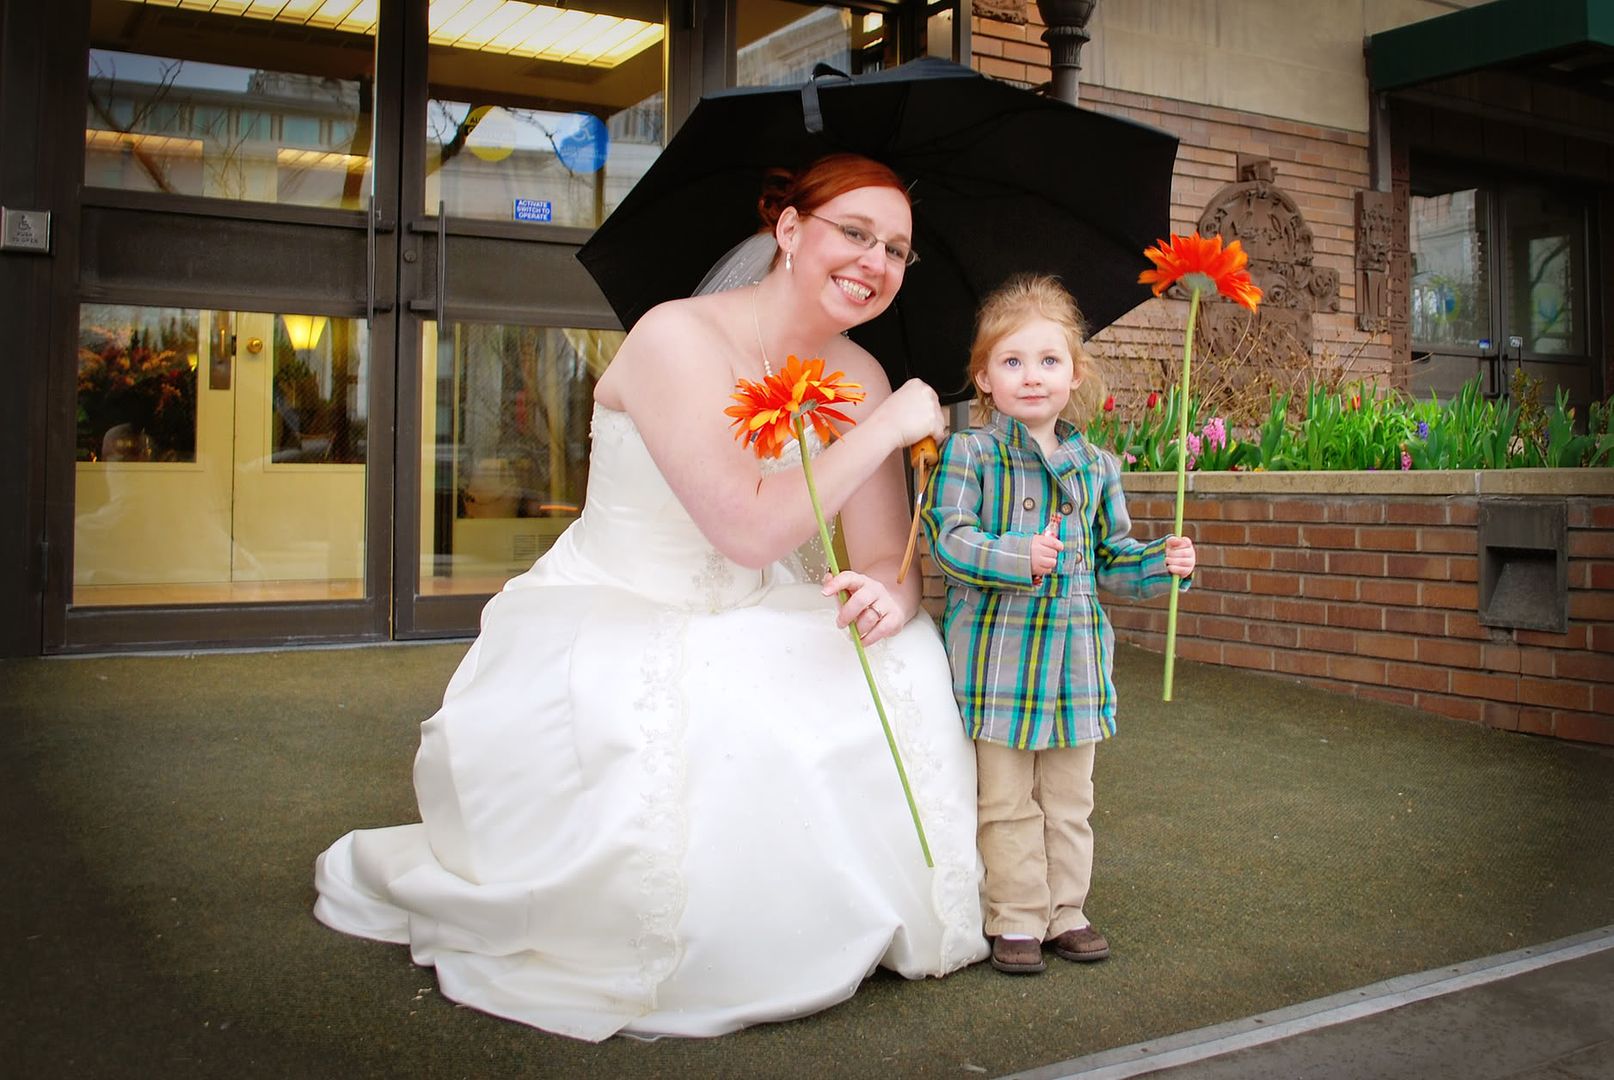
We were just about finished when it began to rain so Callie ran across the street and down the block and waited under here until we came to let her in her mom's building. My little girl loved that she got to hold a flower and hang out with Callie all day!